Thursday, May 20, 2021

Kyoto and Hiroshima Part 1: Slow Travel and Logistics

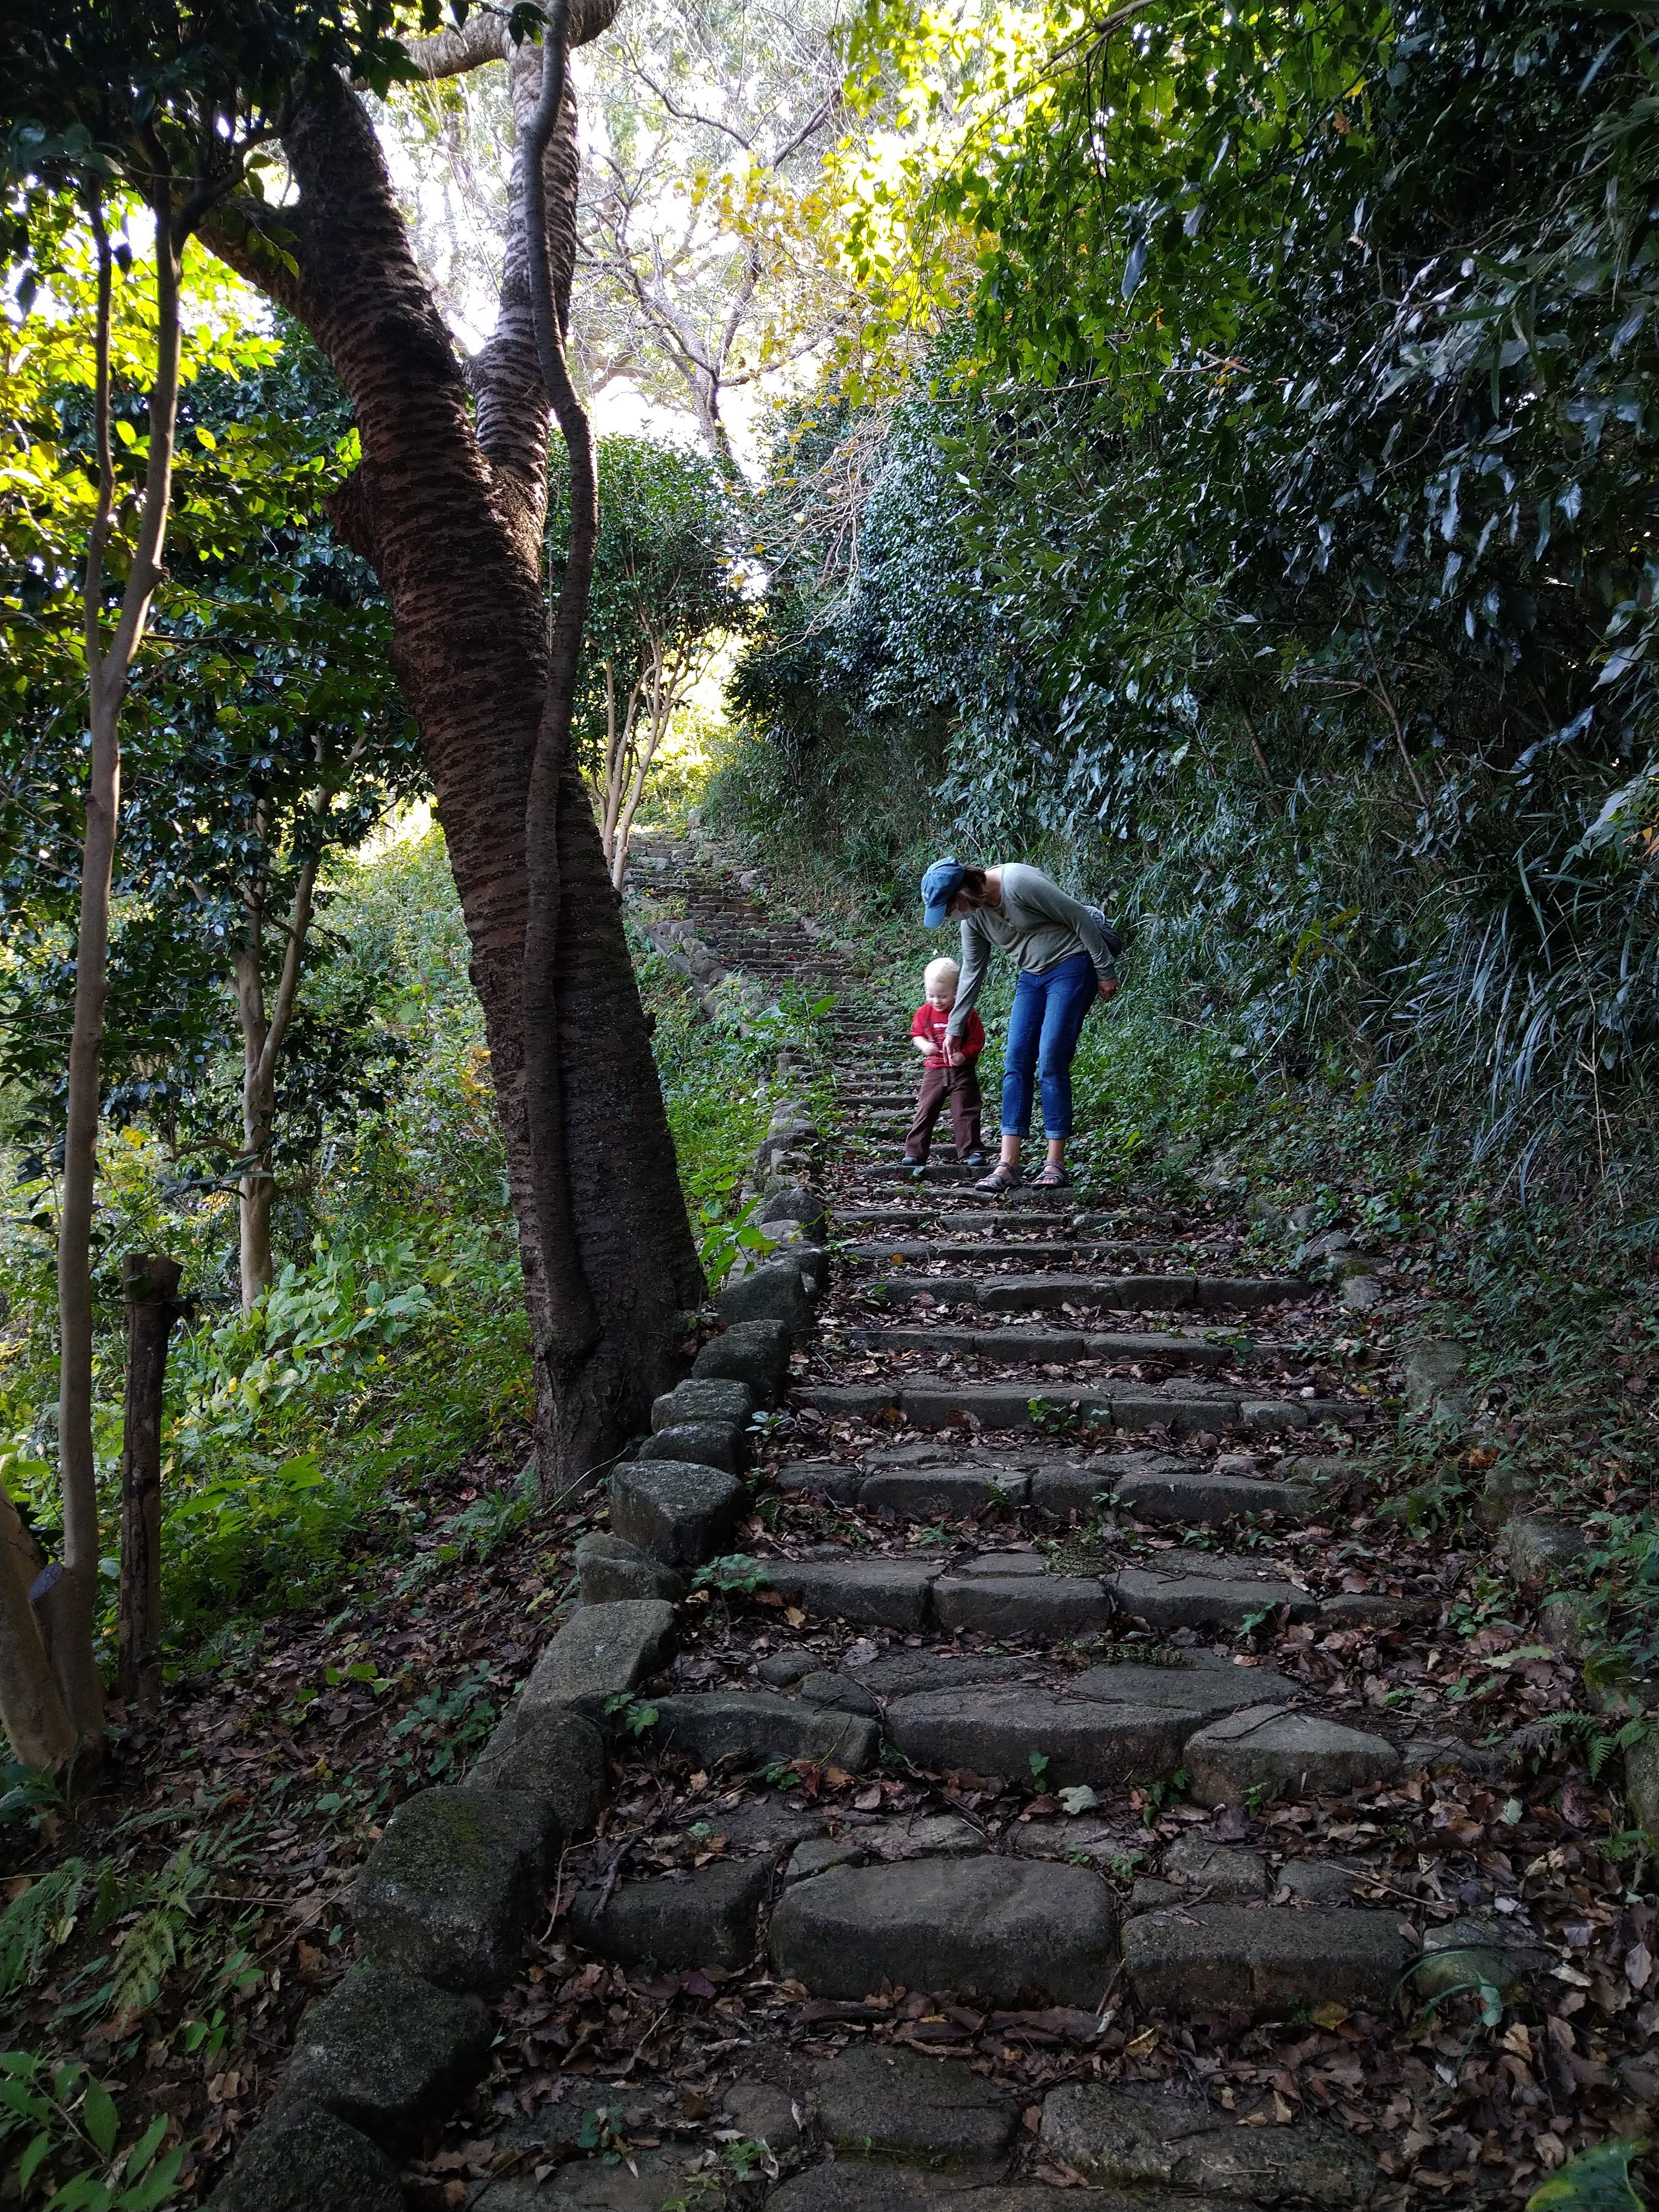
For spring break this year we decided to travel to Kyoto and Hiroshima. Kyoto has long been on our bucket list. As the capital of Imperial Japan for over a thousand years it has hundreds of historic things to see and do. Unlike many other big cities, Kyoto was largely spared bombing in World War II. Hiroshima was also on the bucket list for its historical significance but also for the island of Miyajima - with its shrines and beautiful trails.

At first I was going to do this as a single blog post but as I wrote it, I realized there is too much to say about each day and so I will serialize it.

Accepting slow travel

With a 7, 5 and 2-year old our travel has much different considerations than it did at other times in our lives. It’s a version of “slow travel”. It’s required a change of mindset from how I travel solo or even how I’ve traveled with just Alita.

It takes a little longer to get there, but at least they’re cute. Most of the time.

Our travel at this life stage requires a mindset of abundance. We will not get to see all of the pins that I’ve put in our Google Map. You have to accept what you are able to get to see and travel as if you will be back to see the things you just don’t have time for this time. On this trip we did not make it to several of the “big” Kyoto sites on almost any list of top 10 things you must do in Kyoto - the Golden Pavilion, the Silver Pavilion, the philosopher’s walk, etc (to name a few of my top ones). I quickly realized that if we tried to get to all of these things we would run ourselves ragged.

Everyone wants to hold daddy’s hand

We often miss these things that any 20-something backpacker would make the energy for because our kids love a playground more than a 1,000-year-old-temple at this point. The time that we could have spent hurrying them along to see these once-in-a-lifetime spots they would just as soon spend on the slides, swings and sandboxes.

5-story pagoda vs. the playground. Playground wins.

I won’t lie, this takes some conscious effort on my part. But we have also come to realize that it takes practice. We’ve done several one and two-night weekend trips and these really helped refine our travel strategy and understand what is realistic for our family at this stage.

Travel takes longer and requires an acceptance of the speed at which our kids move. Whatever time Google Maps thinks it will take you to walk somewhere we needed to add about 50%. Sometimes more.

Logistics

Travel

Travel options

Trygve helpfully pointing out the Shinkansen

We considered the shinkansen, rental car (from the base) and our POV. I suppose you could fly but we did not seriously look into this option.

Advantages and challenges of travel options
Option Advantages Challenges / Costs
Shinkansen
  • Always on time
  • Much faster than driving
  • Relatively low stress
  • Expensive (need one ticket per seat - even for kiddos)
  • Can be harder to get to some more remote sites once you’re there
Base rental car
  • Don’t have to pay tolls
  • Easy to get to remote attractions
  • Stress of driving
  • Stress of finding parking
  • Have the daily cost of rental and parking
  • Costs of gas
Our car
  • Don’t have the daily cost of renting
  • Same challenges as base rental car
  • Cost of tolls

I did a little cost comparison of the options (minus flying). We ended up paying $1,192 for shinkansen tickets for four sets for three legs (Yokohama to Kyoto, Kyoto to Hiroshima, Hiroshima to Yokohama) plus the costs of the trains to get from our house to Yokohama. By comparison the driving options were around $760 for our car or $900 for a rental. So the shinkansen is about an extra $300 - $400 for this trip.

Some of my main assumptions were:

  • $55/day rental cost
  • ¥152/L gas cost
  • Tolls estimated using this site
  • $20 / day parking costs
  • 9 day trip
  • Did not consider in-and-around costs for trains since we would probably try to take these when we could regardless of how we did our major destination travel
  • Times are total times for Our house in Yokosuka > Yokohama > Kyoto > Hiroshima > Yokohama > back to our house

However, the shinkansen saved at least 10.5 hours of travel. That’s almost another day of vacation for that $400. And the 10 hours of travel on the train is still a lot less stress than an equivalent time of driving. Finally, the 20.5 hours of driving that Google forecasted is the best case scenario and does not account for rush hours, accidents or construction. So for us and this particular trip, the shinkansen was the clear choice.

Shinkansen

In addition to the hard cost and time comparison, the shinkansen had been on our Japan bucket list for a while. There’s just something cool about rocketing through the country at 200 mph past Mount Fuji.

Mandatory shot of traveling past Fuji from the Shinkansen

There are several apps that you can use to buy your tickets. We used the SmartEX app. It was relatively easy to search options, buy, and (if necessary) change tickets. Google Maps has the Shinkansen routes so you can also do a lot of your initial logistics explorations there.

Outside of COVID times you can get two rows of sets on one side of the train and turn one around. We tried this on the first leg of our journey and it was wonderful until one of the employees told us that all seats had to be facing the same way due to COVID concerns - even if we were all in the same family.

Ride so smooth you can do origami

As I noted in the table the shinkansen is on time, indeed it is a matter of national pride. It almost feels discordant from US trains or especially air travel in that the shinkansen is just like a normal train in that it pulls up to the station, you have about 60 seconds to get on, and then the train leaves the station. There’s no fanfare and you had better not miss getting on. Or off.

We got reserved seats since we wanted to make sure we could have our family together. You can get unreserved seats which are a little cheaper. I think the earliest trains in the day are also a little cheaper.

Lodging

We considered looking at a western style hotel but we opted for Airbnb. In these COVID times we felt that having the whole house to ourselves was probably safer for us and everyone (our kids touch everything and at least one still puts a lot of it in his mouth). But with an Airbnb we could usually get two bedrooms. Most traditional Japanese inns have a single tatami room. While this is a great experience for longer travel it was nice to be able to put the kids to bed in their own space and relax with a bottle of wine or sake.

Kid’s tatami sleeping room

It’s also really nice to have our own kitchen space. We generally do breakfast in our room and make sandwiches for lunch. We love trying local food but with our kids getting them into one restaurant a day is all we can handle.

Ah, a kitchen and table. This is the travel life.

It’s easier to do laundry in Airbnbs since you don’t have to leave the house. On these week-long trips we found ourselves doing laundry about every other day - although that’s mostly because our young boys get things dirty fast.

Finally, we were able to choose Airbnbs with nice big entryways. It’s nice to have a little space for everyone to get their shoes off.

We really appreciated a space to take off shoes and unload when we came back at the end of a day

Drinks

One of my favorite parts about traveling in Japan is that it seems to be a law that at no point should you ever be more than a half-kilometer from a drink machine. Even when you in some remote mountain temple or trail you can come around a bend and find a Dydo, Kirin, Coffee Boss or some other drink machine. I am somewhat fascinated by the logistical system that keeps these supplied.

Packing

For packing we went for one bag per adult and two bags for the kids. This made it pretty easy to quickly board the shinkansen and the other trains, subways and buses that got us to and from our destinations.

Three roller bags, three backpacks

One thing we realized is that you need fast drying clothes. In other words, things like jeans are a bad idea. This is because most Japanese houses do not have driers. Most Japanese hang their clothes out to dry either in the bathrooms (the newer ones have heaters, but most have fans for drawing air through) or outside. Given that we often we doing just-in-time laundry we really needed what we washed at night to be dry by the next morning and that becomes of a challenge as we were getting into the humid summers.

Other items that we’ve found nice for our family at this stage is one or two night lights so that the kids can find the bathroom at night in an unfamiliar space. It was nice to bring out computer so that we could let the kids watch some TV when we needed to do some planning without them crawling all over us.

We did pack some peanut butter and jelly since these were harder to find at the convenience stores. But we bought milk, cereal and bread from the nearby convenience store. In Japan you are never more than a half-kilometer from one.

We’ve started using packing cubes to keep the kids clothes together and this was really nice to keeping the clothes from exploding all over their room over the course of the week.

Costs

Altogether the trip was $3,560. I like to break out the major travel to our destination from the per day expenses since the train, plane or car ride costs to the destination do not scale with the number of days that you stay in a place. Per day it cost about $277 with the largest per day expenses being lodging and food. This per day cost is also for the entire family. For a single adult it was probably close to $180 per day.

Friday, March 19, 2021

Kannonzaki Park

The iconic Kannonzaki lighthouse

I am quite grateful that this park is so close to my house in Maborikaigan. It’s one of my favorite places to run. It’s like one of those big houses that always had an extra trail or some ruins to explore. While it has a playground (and supposedly a big roller slide) both have been closed since we arrived in June 2020. It is also apparently movie-famous as the spot where Godzilla made landfall on this way to Tokyo and literarily famous as the spot where Gulliver landed.

Maps

The standard park map is pretty good and this park does a good job of putting it everywhere with the “you are here” markers.

The standard and ubiquitous park map

The naval base also makes a really helpful map that shows the sites in English as well as all of the parking lots with walking times to various sites.

Naval Base's map of the park

But I like my Google Map though for seeing where I am on my phone when I’m walking in the park.

Kannonzaik is blessed with many parking areas and side access trails. The prettiest of the main trails isa stone-paved trail that goes along the coast. The views are great - especially for a sunrise. On rainy days the stones and some of the bricks can get a bit slippery.


Stone lined coast path
While it's hard to get lost on a path that follows the coast, it never hurts to have navigators.

I would consider the other main artery going from the lighthouse along the ridgeline of the park. This path hits many of the highlights of the park starting with the lighthouse and going past the sailors memorial, several old batteries, the playground and paths back to parking, the art museum and several other parks.

The main artery of the park
The brick paved path through the ridgeline of the park

What to do

Beaches

Kannonzaki Beach

The first beach, Kannonzaki Beach, is right at the main parking areas near the art museum and on nice days in the summer it fills up pretty quick. But the access is easy and parkings is free on weekdays and only ¥550 on weekends.

Kannonzaki Beach at sunrise

The second beach, Tatarahama, is near the Nature Museum on the south side of the point. This is the area where Godzilla made his landfall and you can still find his “footprint” nearby.

Tatarahama Beach

In the original Godzilla movie he made landfall at Kannonzaki. You can see the footprint on the northeast side of Tatarahama Beach. It went past it when I tried to find it because I was expecting it to be bigger (think more 2 story tall monster lizard instead of 9 story tall monster lizard) and to have some sort of commemorative plaque. It’s there (and kinda neat) but not necessarily advertised. On another fictional claim to fame, Kannonzaki is also apparently where Gulliver landed in part of his travels.

It's smaller than you'd think

Lighthouse

This is the iconic part of the park and well worth the steep but short hike. If the internet is to be believed, it is the first western style lighthouse in Japan. The easiest way to get to it is to hike along the stone line coastal path. Just past the bathrooms there will be a short steep trail up to the lighthouse.

Great place to catch the sunrise

Sailors at Sea Memorial

This is a beautiful monument that is striking and impossible to miss as you walk down the path. It’s worth the walk up the steps to look at the statue and views of the sea. From what I’ve gathered online it was built in 1964 to memorialize those lost at sea in marine accidents and wars. The main part of the memorial is supposed to evoke a sail fluttering in the wind.

Old batteries and fortifications

The park has remnants of the old batteries and fortifications built in the 1880s by the imperial army to defend Edo Bay. They seem to be everywhere and are great fun for the kids to explore and crawl around on. Or just to walk through and imagine what it would have been like when there were actual cannons mounted here.

North Gate 1st Battery Remains

Flower Park

This park is on the backside of the park from the main beaches and parking areas. It seems to be a spot that locals like to use for their morning walks. It has wonderful plum blossoms and flowers (as its name would suggest).

Nature Museum and Art Museums

Located right next to the park these make for good add-ons. Sadly they have both been closed since we’ve been here but I’m hoping they open before I leave.

Closed Trails and Playground

A couple of trails and the playground have been closed since we got here in the summer of 2020. I’ve heard rumors that it was due to a typhoon, but I have not yet found anything to confirm this. Indeed, the trail along the coast between the tunnel and the lighthouse just re-opened in the late 2020.

One of the highlights that folks are looking forward to seeing open is the giant roller slide. This is on the west side of the park near the pirate ship playground. There is a whole network of trails below this that is also closed that connect to the Hashirimizu neighborhood and come out near the shrine.

There is a pretty good map of what is closed and what is open on the park website:

Park Map of Closed Trails
Closed off pirate ship playground and rollerslide (nearby)
A bunch of beautiful closed off trails behind this building

Parking and Access

  • Weekdays: Free
  • Weekends: ¥550

Main Parking (Lots 1, 2 and 4)

These are the usual and most central lots if you want to go to the main beach or see the lighthouse.

Attraction Time to walk
Lighthouse 10 min
Nature Museum 10 min
Flower Area 20 min
Roller Slide / Forrest Lodge 25 min

East side / Tatarahama Beach Parking (Lots 5 & 6)

These lots give better access to Tatarahama Beach and the Nature Museum but you can still get to the lighthouse or roller slide if you’re willing to walk.

Attraction Time to walk
Lighthouse 15 min
Nature Museum 1 min
Flower Area 20 min
Roller Slide / Forrest Lodge 25 min

Museum of Art Parking

I haven’t gotten to park here yet but it looks like a good lot with some less-used trails that you can use for access.

Attraction Time to walk
Lighthouse 15 min
Nature Museum 25 min
Flower Area 15 min
Roller Slide / Forrest Lodge 20 min

National Defense Academy

The only trail not really shown on the park map happens to be one of my favorite access points - the hill that goes up along the back side of the National Defense University. You could probably park alongside the road at the top of the hill but I just use this to access the park when I run. Starting across the street from the Hashizaki Ryokuchi (Observation Deck) you go about 700 m up a steep hill with the National Defense Academy to the west.

My favorite back way into the park
Sunrise view from the observation deck at the base of the hill toward the back entrance

Just at the road dead ends at the top there is a single-track dirt trail that heads off towards the park. The dirt section of the trail is about 250 m long before you come out to the building near the Giant Slide and the paved section of the path.

East end of the single track trail that heads towards the National Defense Academy
Pretty single track trail

Thursday, February 4, 2021

Kinugasa Yama Park

Kinugasa Shrine, right outside the park entrance

I think this park becomes quite popular during the sakura, but the remainder of the year that I’ve seen so far it’s a beautiful secluded place to take the family and I love running through here. There’s a great park for kids (to include a really fun loop-de-loop climbing area) and two observation towers.

Maps & Trails

As with most parks there are decent rough maps of the park posted all over the place.

The standard park map

This park map is very accurate (as far as showing all the trails and how they connect to each outerh) but it doesn’t show where the trails come out or help with parking so I made my own Google Map. The blue trails are paved and the brownish-orange trails are unpaved. I’ve also included some trails for the Kinugasa Ruins on the other side of 27.

The main path from the entrance to the observation tower and playground loop are paved although it does have some slope to it in places. The main paved path splits about 170 m from the entrance with the left path going towards the observation tower (another 300 m) and the right path going to the playground loop (another 430 m). The playground loop itself is 410 m.

Main paved path through the park

The rest of the trails connect these two split paved paths or go off to various exits.


What to do

Playground

If you just look at Google Maps, this one can get a little confusing. It shows three playgrounds. I’ve run through here a lot and as near as I can tell the other two are just open areas without playground equipment. For kids you want to do a Google Map search for the southeastern-most one: わんぱくの森 (here).

Would the real playground please stand up

This one has a fun little mesh rope bridge that goes around the main structure. It also has nice shade on one side for watching your kids. You’ll often see school trips here of folks picnicking in the shade.

The boyz heading down the stairs to the park
Other end of the playground
Our kids loved the rope tunnels & bridges

Loop-de-Loop

On your way down to the playground from the main entrance you’ll walk by this big loop-de-loop rope tunnel. We almost just walked by this structure but our kids would not let us. It has a bit of sway to it, but it seems safe enough.

Yes, it's as much fun as it looks

Observation Deck

Like any self-respecting Japanese park with a hill, Kinugasa Yama also has an observation deck (Google Map search: 衣笠山公園展望台). It has great views of Fuji, Yokosuka and Kannonzaki Point. During the spring you could probably get some great shots of Fuji through the blossoms and new leaves.

Alita with a very faint Fuji-san in the background

Sakura Viewing Area

There are two beautiful orchards where you can see beautiful blooms in the spring. We have not yet done our first sakura so I might update this later. But even if you visit other times of the year, the main one has some neat wood carvings and it’s still a great area for a picnic. You can find one of the viewing areas with Google Maps by searching: 衣笠山公園上の広場 (here).

No blossoms in December? No problem for our kids.

Parking & Access

Main entrance

The best parking option is by the shrine. In Google Maps if you enter “Kinugasa Shrine” it will get you very close (you just have to drive past it another 100 m).

Kinugasa Shrine

The parking is just past the shrine on the left as you go up the hill. The lot is open from 8:00 - 17:00. It has 14 parking spots. Outside of the sakura, it’s a pretty quiet park and I’ve rarely seen the lot full before 10:00.

There is one bathroom and vending machine here and two other bathrooms in the park. The next one is 170 m down where the main path splits by the cherry tree groves. The third bathroom is down towards the playground.

There are some other parking places that I have not investigated but that may work in a pinch of during the busier times of year. I have run by several parking spots on my map but have not tried these ones out:

There’s a spot about 200 m down from the shrine. Using my phone’s translate function I think it’s overflow parking for the elderly during the sakura.

A surer option is a 4 -5 spot paid parking about 600 m / 10 min walk up the hill. It’s ¥100 / 20 min during park hours.

Bamboo Forest Access

This is one of the less traveled sections of the park but I think it’s one of the prettiest ways in and probably the quickest way to the playground. At the end of this residential street there are three parking spots.

Parking spots for the bamboo forest entrance

From this trail you walk about 185 m through a beautiful bamboo forest.

Then you come to a T intersection with one trail that heads north into another neighborhood. This is a good access option although the parking is not as good right at the trailhead.

To the south the trail takes you to another intersection. Going east will take you to the playground / playground loop. From parking to the playgroun is only about 400 m.

Going south will take you 300 m uphill to the observation tower. Most of the path is stone lined steps although some are the dirt and log steps that tend to wash out in places.

Ave / Ridgeline Trail

This is my favorite way to run into the park. Ridgeline trail is my own personal name - so don’t look for that translation from the signs. The parking area above is also right next to a ridgeline trial. I’d be tempted to park at the AVE Kinugasa shop but I’m going to guess that they monitor for Kinugasa Yama parking.

You’ll see a little statue and sign along the road. Turn and run up along the white fence, but keep going straight when the road bends. You’ll eventually come to a set of log stairs that are the official start of the trail.

Little shrine that marks the spot from the road
Sign for the trail. Go up and over the chains at the top

The trail is about 660 m and goes along a ridge. It goes by two picnic tables which always amuses me. In the in winter it’s a bit cold to picnic but when it’s warm enough to picnic the bugs are a little intense.

One of the picnic tables on the way up the ridgeline

The trail goes up and over a small knoll about halfway with some stairs on either side.

Stairway over the knoll

Just before the trail joins with another connector trail, you go along a wall with some nice views of the neighborhood.

Nice views of the neighborhood before you connect to the rest of the park

Neighborhood Access

At the northeast end of the playground loop there’s a 250 m gravel path that goes out towards the Kinugasa Hospital. This access is about a 4 min walk from some paid parking. If you just wanted to go to the playground this would be your easiest bet.

Route 27

This is not really main access so much as a connection to the Kinugasa Castle Ruins (which sounds a little more exciting that what is actually there). But if you enjoy trail running and want to connect to Mount Oogusu (大楠山) and trails beyond, this is your huckleberry. It’s steep and a lot of the dirt behind the log stairs has eroded. But I love that you can run through Kinugasa Park and connect to so many other great trails.

There is one spot just down the road toward the 16 Expressway intersection where I occasionally see cars parked, but I’m not sure about the rules and would be wary of parking there myself.